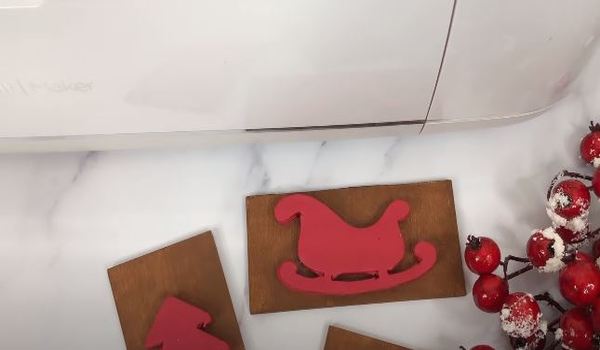
How to Make Stamps with a Cricut? 8 Easy Steps
I made some cute rubber stamps, and I’m really pleased with how they came out. I don’t want to lie and tell you slicing rubber with the Cricut Maker was easy! It took me several cutouts of wasted material before I got the hang of it. But now, I have it down pat.
To save you the hassle of trying to figure it out on your own, I’ll show you exactly how to make rubber stamps.
I used my Cricut Maker for this project, but I don’t see any reason you wouldn’t be able to use your Cricut Explore or Air as long as you make sure they are coupled with a cutting blade.
How to Make Stamps with a Cricut?
Gather all supplies
You will need a cutting machine, a blade, mat, masking tape, a brayer, a rubber sheet, a piece of wood for the stamp base, ink, and craft glue.
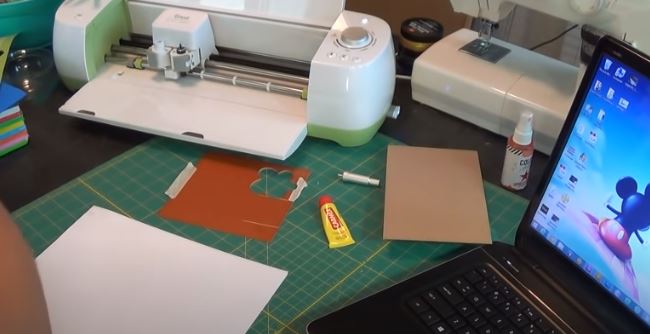
Create your design
Create your design in Cricut Design Space. It should have simple and basic shapes such as rectangles, circles, and triangles.
You can use a perfect design with Cricut if you use a tablet for designing.
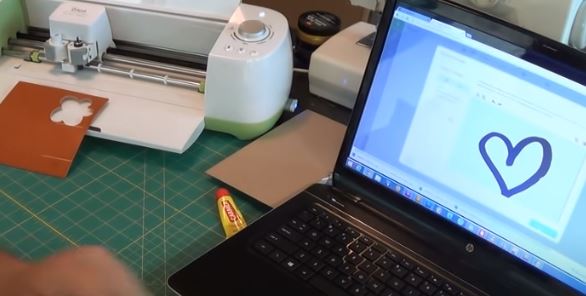
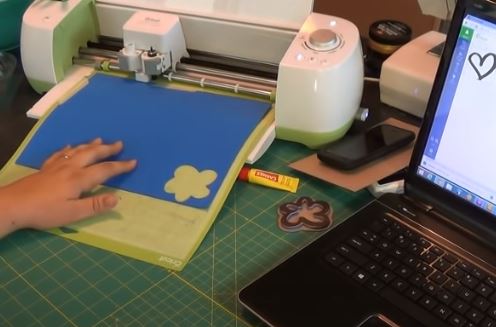
Place rubber piece
Place the rubber on your StrongGrip Cricut mat. Press it down firmly with a brayer or other rolling tool to make sure it is well-seated.
If the rubber moves, add a layer of masking tape or painter’s tape to seal it in place and provide extra stability.
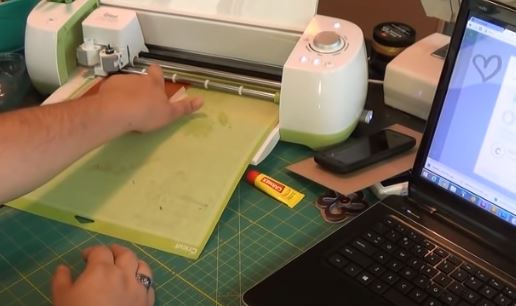
Click make it
Cricut Design Space has a “Make It” button for cutting material, and I made sure to use neoprene with “More” pressure settings. This was necessary for cutting the smaller letters.
The default pressure setting was great for simple shapes, but more intricate cuts needed the “More” option.
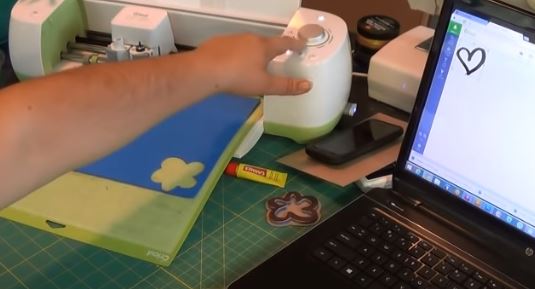
Press the Start button
Make sure that your Deep-Point blade is in the fixed clamp. Position the star wheels against the rightmost position on your Cricut, place a sheet of rubber on your cutting mat, and then press Start.
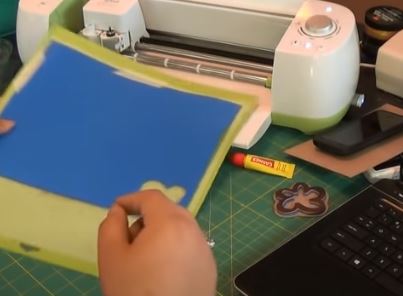
Unload the mat
Once the rubber has been cut into the shape desired by the Cricut, unload it from the mat. Pull away with your hands just as you would with cardstock. If you feel like it might be stuck, use the spatula or tweezers included in your tool kit to help pry it away.
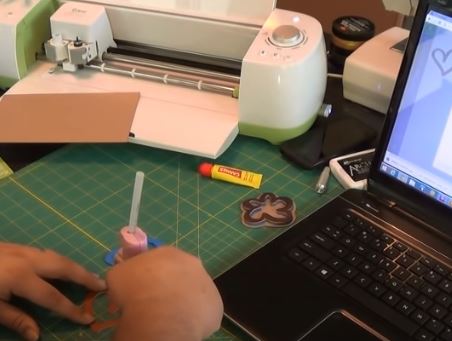
Use glue
Now, it’s time to bind the rubber to your wood pieces so they can become actual stamps.
My first stamp came out wrong because I applied the glue exactly the opposite of what I should have done. When applying glue, you need to apply it where the reflection is pointing in the mirror.
Start using the stamp
To ensure that the glue is dry first, it’s best to wait for several hours before stamping your fabric with it. I’ve been using this Ranger ink to stamp fabrics, and I’ve found it works well so far.
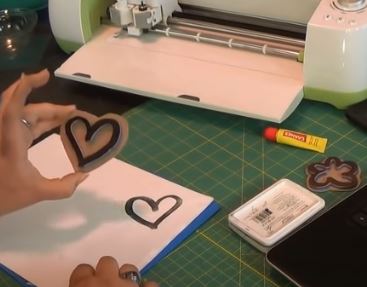
If you want to heat press on any surface, you can use heat transfer with attachments.
Frequently Asked Questions
How to make rubber stamps with Cricut Maker?
To make rubber stamps with Cricut Maker, use a Deep-Point blade and a StrongGrip cutting mat. Simple shapes and larger letters work best. Use painter’s tape or masking tape to hold the rubber down on the mat.
Create the image in Cricut Design Space and use the neoprene setting with “More” pressure. Glue the rubber to wood pieces, and let it dry. Use Ranger ink to stamp.
With patience and understanding, you can make rubber stamps easily and for a fraction of the price.
Can cricut make rubber stamps?
Yes, Cricut can make rubber stamps easily.
How to make rubber stamps with Cricut Explore Air 2?
To make rubber stamps with a Cricut Explore Air 2, you will need some basic tools, including Cricut Design Space, craft foam, and a Cricut Explore mat. Start by drawing or doodling designs by using a photo editing software. You can also use Design Space.
Upload the images into Cricut Design Space, select the design, and adjust the settings for cutting the foam. Use the standard blade and housing with a thinner foam of around 1mm thick, and set the pressure to around 330 with the Multicut option set to x4.
Finally, send your design to the machine to cut and make your rubber stamp.
Can Cricut cut rubber?
Yes, the Cricut can cut rubber, but you need a specific blade called the Deep Point Housing Blade, as well as a strong grip mat and masking tape to hold it down. You also need to create a custom material setting for the rubber and adjust your settings accordingly.

I’ve been in the printing business for 25 years. I love to share my experiences and knowledge.

