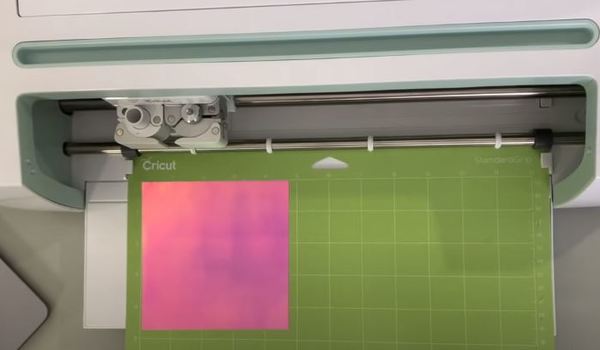
8 Easy Steps To Cut Vinyl On Cricut
This guide covers how to use Cricut to cut and print vinyl.
We will need a Cricut machine (Air Explorer or Maker 3), Adhesive vinyl, a cutting mat, a weeding tool, and transfer tape.
How to cut vinyl with Cricut?
Use Cricut Design Space to design your project.
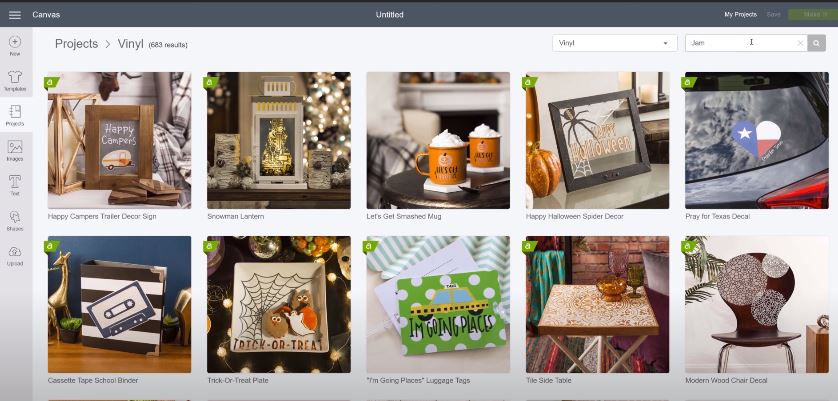
Log into the Cricut Design Space and choose to create a new project. (You can use any other design software and upload the design to Cricut too.)
Add an image to your design from the Cricut Access library, upload an SVG file, or choose from one of the pre-made designs.
Once you have completed your design, press the red Make It button. You should see separate boxes for each part of your project. Check to make sure everything is how you intended.
If you didn’t correctly organize the pieces on your design, go back to the Canvas screen and use the Connect button to make sure everything is spaced out as desired. Once it looks right, click Continue.
Put the vinyl on the Cricut mat.
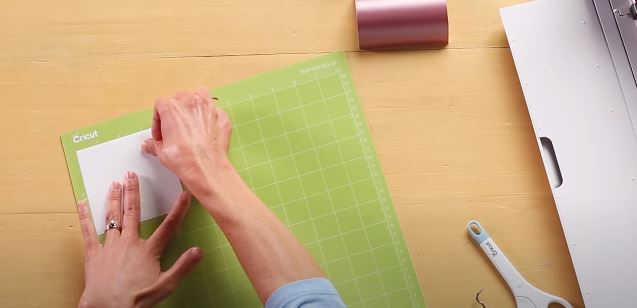
Place the green or blue cutting mat on a flat surface and remove the protective plastic sheets. Line up the vinyl with the paper side down. Try to align it with the edges of the cutting mat.
Apply your scraper or brayer to the vinyl edge. Try to push out any bubbles. Put on the cutting mat so that its edges align with the guidelines. Place your piece of vinyl on top, then hit the “load” button to upload it.
Select the suitable material settings
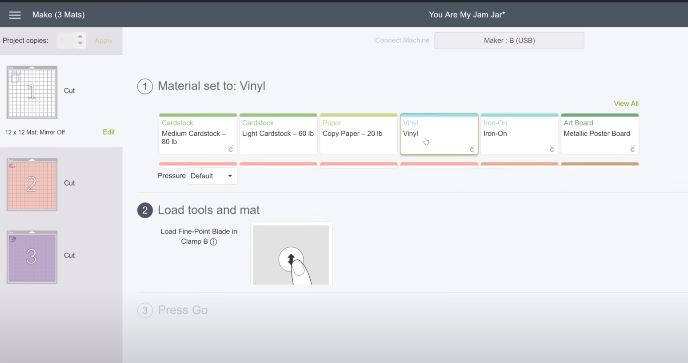
You’ll be looking at the “Make” screen, where you’d set the appropriate cut settings, including your type of vinyl. You should follow the instructions on the screen to set the base Material. Choose vinyl from the list of available options if it’s not in your favorites list.
Next, make sure you have the right blade for your task (vinyl, for instance, requires a fine-point blade). When you’re all set to cut, press the GO icon and watch as it runs through.
Remove extra vinyl by weeding the design.
If you cut the vinyl material with a more detailed design, it would be best to weed out the excessive pieces before assembling the design. For this, use a weeding tool to weed out any excess vinyl.
When you weed vinyl while it’s still stuck to the mat, the mat is actually what keeps it in place as you work. That said, if you have a pretty straightforward job, then you’ll start by removing larger pieces from the edges.
For smaller parts of my design, it usually makes sense for me to take them off before beginning crafting with this vinyl.
Use the pointed end of the tool to remove any parts of the image that you don’t want to be applied. This includes all of the outer edges as well as small shapes inside. Be sure not to miss letters like “a” and “o.”
Finally, flip the cutting mat into an inverted position. Peel the mat away from the vinyl to avoid any curling or bubbling.
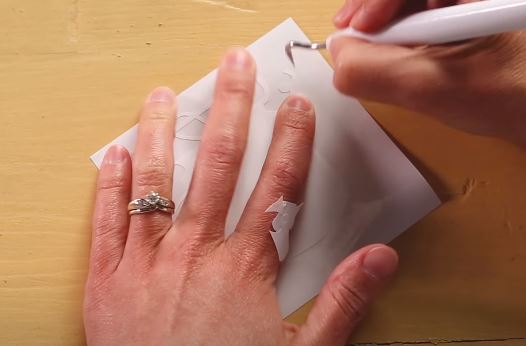
Get ready the project surface
Make sure the surface is clean and dry before you apply the vinyl. This will help prevent any dust, lint, or oil from getting stuck to the vinyl and not sticking properly.
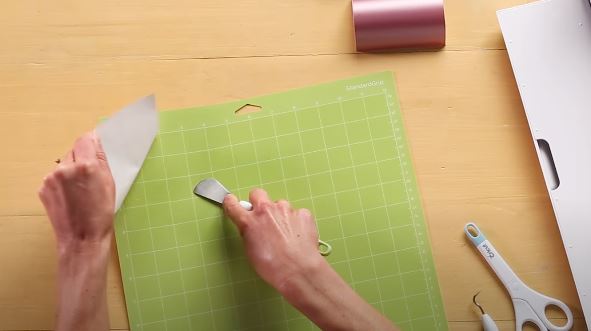
Cover the vinyl design with transfer tape
To avoid air bubbles, cut a strip of transfer tape slightly bigger than your design. Peel the back paper from the transfer tape and place it onto your design, lining up with the grid lines.
You can use a scraper tool to rub the transfer tape against the clear vinyl lightly. This will secure the transfer tape over the vinyl.
Peel vinyl design and transfer tape
Peel the transfer tape off the vinyl at a 45-degree angle. This should make the tape peel the vinyl away from its paper backing. Try laying down the transfer tape again and rub some more if it doesn’t work.
Apply vinyl and remove the transfer tape
Place your vinyl design over the project and ensure it is correctly aligned with the grid on the transfer tape. Once you are satisfied with how it looks, press down to ensure it sticks securely to your project.
To lock in your design, use your scraper to gently apply it in a circular motion to the surface of the project. Start in the center and move towards the edges, smoothing out any air bubbles that may arise.
Peel the transfer tape away from your project slowly, making sure not to go too fast as it will stretch and tear. Try pulling at an angle of 45 degrees or less. When the transfer tape is lifted off, you should be left with a high-quality vinyl design.
You just need to peel off the backing now, and you will see your design. Leave it for 24 hours. Allowing the vinyl to cure will give it time to stick, ensuring a solid bond and max resistance to water damage.
FAQs
What blade should I use to cut vinyl on Cricut?
To cut vinyl with precision, use the premium fine point blade and select a green mat. When ready to cut, choose more pressure on your cutting tool. This will give your vinyl a clean cut.
What side to cut vinyl on Cricut?
You have to keep the liner side down when cutting vinyl on Cricut.
How to cut Cricut stencil vinyl?
Put the stencil material onto the Cricut machine mat. Load an image, adjust settings, and press Go to cut stencil vinyl.
What side goes down on cricut stencil vinyl?
The liner side goes down in Cricut stencil vinyl.
How to put stencil vinyl on cricut mat?
- Choose “On Mat” as your material load style and “Flexible Stencil Film” as your setting.
- Take the Stencil Film and put it onto the Cricut StandardGrip or LightGrip machine mat with the liner side facing down.
- Slide the mat under the mat guides on the machine and push it against the machine rollers.
- Press the “Load” button to get the machine ready for cutting.
Our research showed that these machines are best for Cricut maker.

I’ve been in the printing business for 25 years. I love to share my experiences and knowledge.

