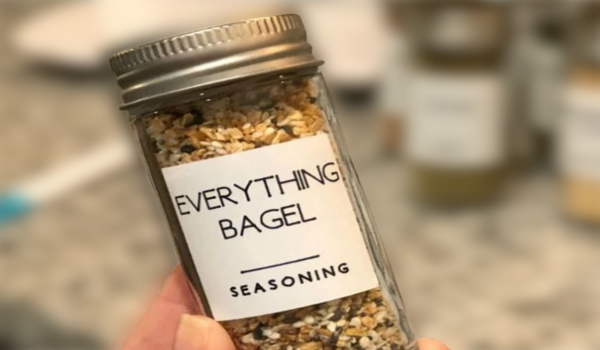
How to Make Labels with Cricut Joy?
Do you ever feel like your home is never cleaned for more than five minutes because it’s cluttered up again? Have you tried setting up an organization system, but it becomes cluttered again really quickly?
Organizations can make life much easier. Labeling everything is the best solution.
Many are afraid that labels will make their space feel too industrial, or take away from their home décor. I’m here to show you how you can use labels to enhance your home decor and make it a place you can enjoy.
You can use this technique on fabric bins, plastic bins or baskets, or chalkboard labels to make any item look pretty. As long as you have a Cricut machine and the appropriate vinyl, adding some cute icons is an easy and quick way to prettify your storage!
Material required
- Computer or a good tablet
- Cricut joy machine
- Cricut mat with vinyl
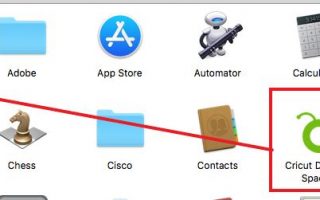
Open Cricut Design Space
Click on the Cricut icon on the screen or find it in the list of apps. Double-click on it to open. It will start in 2–3 seconds.
Create a new project
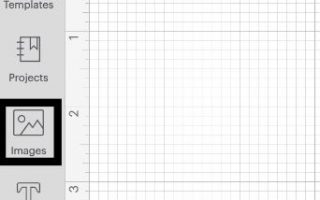
Click on create a new project option. It is located under my projects. Select the projects located on the right-hand side.

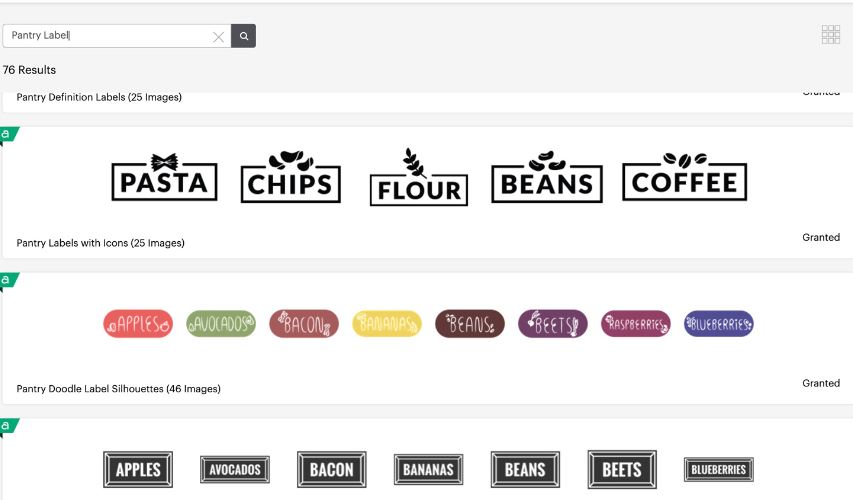
Search and select the design
You can search the labels and select the one you like. I like the Deschanel pantry labels. So, I chose one of them.
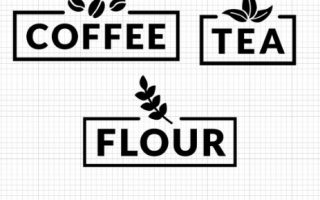
Load mat with vinyl and cut
It is time to load the mat with vinyl to the Cricut Joy. With Smart Materials, Cricut Joy can cut a continuous shape up to 4.5″ width x 4′ length. It can also make repeated cuts up to 20 feet long. So, make sure you follow the proper dimensions.
Press Go to cut the labels.
Press the Go button to cut the labels and use them as you like.
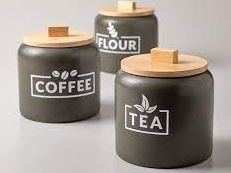
By using this method, you can make spice, pantry, and bin labels.

I’ve been in the printing business for 25 years. I love to share my experiences and knowledge.

