
How to Sublimate A shirt? A Step By Step Tutorial
In this tutorial, I will show you how to sublimate a shirt step by step. We’ll talk about the materials you’ll need, as well as the time, temperature, and pressure settings, and give you clear instructions.
Materials Required
- A shirt with at least 50% polyester content ( If polyester shirt not available, use sublimation spray on cotton shirt)
- Sublimation transfer Paper
- A computer to design the image
- Sublimation Heat press or easy press 2
- Protective paper or copy paper
- Teflon sheet
- Lint roller
- Scissors
Temperature, Time, and Pressure Settings
- Temperature: 400 degrees Fahrenheit
- Time: 60 seconds
- Pressure: Medium to firm
Step-by-Step Instructions on How to Sublimate a T-shirt
Choose the Right Shirt
Choose a shirt made of at least 50% polyester. Remember that the colors will be brighter and more vivid if there is more polyester in the fabric. If that is not available, you can make your own sublimation spray or buy a ready made one.
Remember, light-colored shirts work best for sublimation.
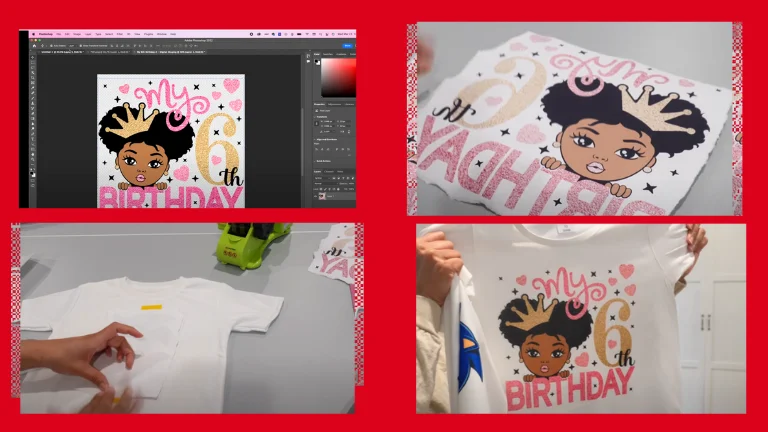
Prepare the image
You can use any design software to prepare the image for sublimation. I used Adobe Photoshop because I love the flexibility that it offers. However, it can be difficult for beginners. You can use Canva if you are a newbie.

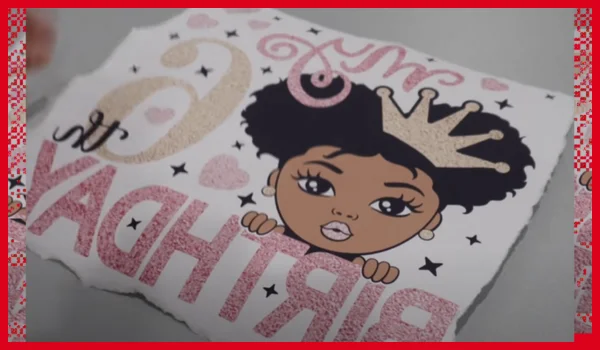
Prepare the Transfer
Cut around the image on your sublimation transfer with a rough edge so that your shirt doesn’t end up with a square border. Check the edges for extra dots of ink, and if there are any, cut them off.
Preheat the Shirt
Make sure only one layer of the shirt is on your heat press or easy press 2. Place the collar and seams off the press. For a few seconds, heat the shirt to get rid of any moisture.
Clean the Shirt
Use a lint roller to remove stray hairs or loose fibers on the shirt. This keeps colors from showing up during the pressing process you don’t want.

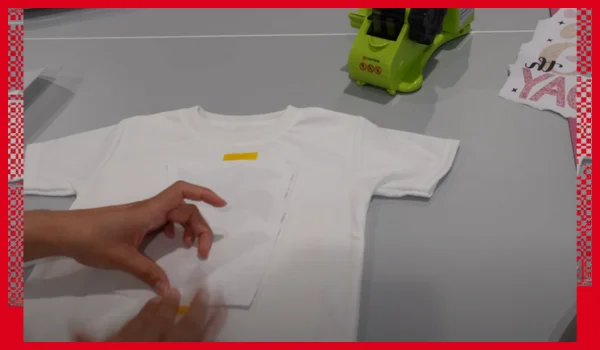
Position the Transfer
Place the transfer on the shirt so that the side with the ink touches the fabric of the shirt.
Protect the Transfer and Shirt
Cover the transfer with protective paper or copy paper to keep extra ink from getting on the press. Put a sheet of Teflon over the protective paper for extra safety.
Press the Shirt
Press the shirt for 60 seconds at 400 degrees Fahrenheit with medium to firm pressure. Be careful not to move the press during this process, as doing so can cause ghosting or blurry images.

Remove the Transfer
When the press is done, carefully lift it up and take the transfer off the shirt right away. Both the shirt and the transfer will be hot, so handle them with care.
Inspect the Finished Product
Your sublimated shirt is now done! The design is permanent and has no feel. You can wash and dry the shirt normally, and it will last for a long time.

Sublimation is a quick and easy way to add your own design to polyester-coated items like shirts. I hope that this long tutorial has helped. Feel free to ask about shirt sublimation if you have any questions.

I’ve been in the printing business for 25 years. I love to share my experiences and knowledge.