How to make patches with Cricut? (3 easy methods)
Do you want to make patches with the Cricut?
It is easier than you think.
Here are 3 DIY methods to do it easily.
Making Patches with Cricut
Supplies: A Cricut machine ( Maker, Explore, Joy), A household Iron ( Or easypress), iron-on vinyl, a scissor, a weeding tool, A piece of fabric
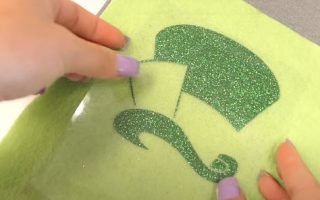
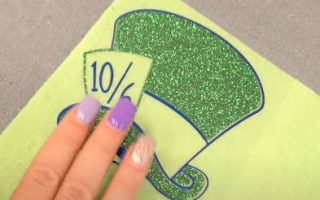
- Cut your design with the Cricut machine. You can choose a simple design from the Cricut Design Space. If your patch is multi-layered, you can divide it into various components. You will have to cut each piece separately. Do not forget to weed the excess vinyl.
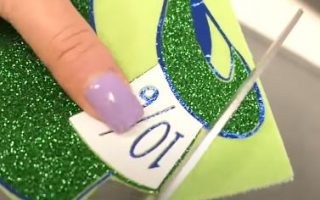
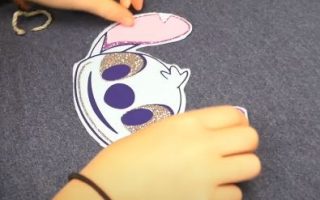
- Cut a piece of fusible fabric while keeping in mind the shape of the patch. Layer the pieces on the fusible fabric.
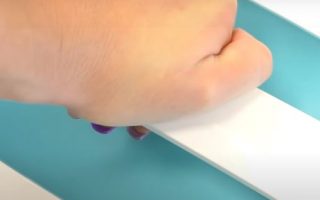
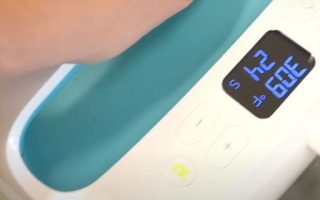
- Clean the fabric by using a lint roller. Preheat your iron/easypress and preheat the fabric too.
- Place the design on fabric and cover it with the parchment paper.
- Apply heat for 30 seconds while moving the iron in a circular motion. Let it cool for 4-5 minutes.
- Remove the vinyl backing and parchment paper.
- If you want to give better look, you can sew it instead of iron on.
Using Cricut infusible ink sheets to make patches
Cricut as a leading brand has introduced infusible ink sheets. Using an infusible ink sheet is similar to vinyl. However, in this case, we layer these sheets and then infuse them onto the patch.
- Select the design of your and separate it by colors by using the Design Space.
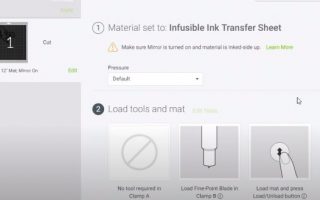
- Use the fine point blade to cut the piece of design from infusible sheets.
- Remove the negative space and use transfer tape to layer.
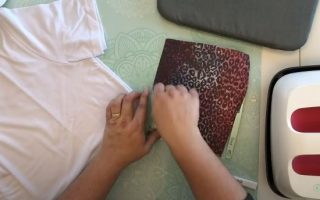
- Place it on the patch blank by using the transfer tape. You can cut this using a Cricut fabric wheel or blade on a piece of canvas.
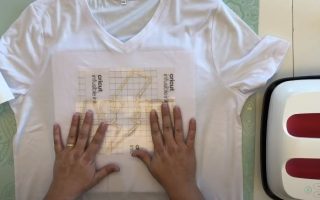
- Use butcher paper to cover the design and press it.
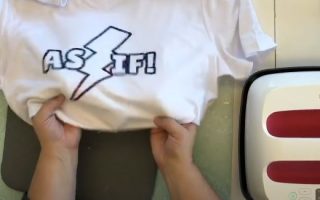
- After the patch blank is inked, it can then be glued on, or the patch can be stitched anywhere you want.
Making patches with infusible pens and markers
You can create custom patches in just a few seconds with Cricut pens and markers. These pens and markers have sublimation ink inside them.
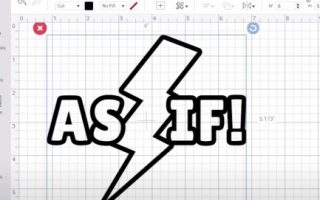
- Create a design in Design Space or choose one from the collection. Use the Cricut draw function. A tablet will work perfectly for this job.
- You can change the pens as soon as the Cricut prompts while designing on the infusible sheet.
- Once the design is completed, use the cut function of the Cricut.
- If you want to fill in additional colors, you can do so by using these pens and markers.
- Position the design on the patch blank. You can use the cardstock to protect the work area.
- Use butcher paper to cover the infusible ink.
- Use the directions provided on the packaging of the infusible ink sheets to press.
- Once the patch is completed, you can sew it or iron it by using the fusible backing.
Tips for iron-on patches Cricut
- Always use a sharp blade for cutting the fabric on Cricut.
- Make sure your fabric does not slip. You can use FabricGrip or brayer for this purpose.
- The excess fabric should be weeded out after cutting the design.
- Always use an adhesive backing to make sure the patch remains in place.
FAQs
Can a Cricut make patches?
Since Cricut machines have been designed to cut most materials, these machines can be used to make patches. Cut your design with the Cricut machine. You can choose a simple design from the Cricut Design Space.
If your patch is multi-layered, you can divide it into various components. You will have to cut each piece separately. Do not forget to weed the excess vinyl.
Can a Cricut maker make girl scout patches?
Yes, a Cricut maker can make girl scout patches. Here is how to do it.
- First of all, let the Cricut easypress warm up.
- Place the scout patches on top.
- Set the temperature to 375F and the time to 20 seconds.
- Hit the green button.
- Apply light pressure.
- Wait for the countdown to be over.
- Flip it inside out if you want to do it on the other side.
- Make sure that that seal is tight
- Once you have the countdown done
- Let it cool off.
Can Cricut mini be used to iron on patches?
Yes, you can use the Cricut mini for iron-on patches. However, you will have less control over temperature and pressure settings.
How to make Velcro patches with Cricut?
To make velcro patches with Cricut, you will need iron-on velcro, a Cricut machine, and a backpack or fabric where you want to attach the patches.
Cut the iron-on velcro into small pieces using the Cricut machine, remove the plastic backing, and place the soft piece of the velcro onto the backpack.
Use a cloth and iron to apply heat for 90 seconds to bond the velcro to the fabric.
Once cooled, attach the hook side of the velcro to the patch, and press it onto the soft side of the velcro on the backpack.

I’ve been in the printing business for 25 years. I love to share my experiences and knowledge.

