
How to make a heat press machine? 2 Easy Methods
Did you know that you can make your own heat press machine?
A heat press machine is a handy tool for turning images into a permanent fixture on clothing.
However, as a beginner, it can be very difficult to buy a heat transfer machine as they are pricey.
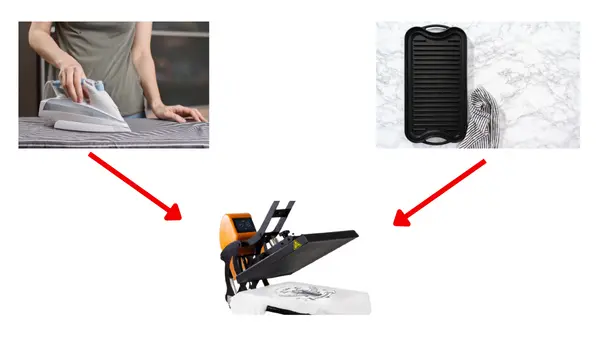
For simple DIY projects, you can make a heat transfer machine easily with iron or griddle.
How to make your heat press by using household iron?
Supplies: Normal household iron, a piece of fabric, table, heat transfer paper with image, pillowcase, timer (You can use the timer app available on your phone)
Heat the iron
Set your iron to the highest temperature settings. Set the timer to 10 minutes. Get your transfer paper and piece of fabric ready.
Set up the fabric
Place the pillowcase on top of the table. Make sure the surface of the table is flat. Place the fabric on top of the pillowcase.
Remove fabric wrinkles
Use the iron to remove the fabric’s wrinkles. It is important to remove the wrinkles because the image will not transfer properly if wrinkles are present. Let the fabric cool for some time. Do not change the position of the fabric as it may result in wrinkles again.
Press the transfer image
Place the transfer paper with the printed image face down on top of the fabric. Make sure that it’s flat against the surface. Apply some pressure and press the iron onto the left-hand side, then slowly move it along in a zig-zag motion across the top edge of the transfer.
Make sure not apply to much pressure as it might burn your fabric.
Now, start from the bottom edge and move it towards the center. Do the same process by pressing the right edge and then the left edge.
Finally, make a circular motion with the iron onto the image to make sure the whole image has received proper heat.
Peel the backing of the transfer paper
Let the transfer cool down for 10 minutes. Now, remove the backing of the transfer paper. Make sure to follow the instructions provided by the transfer paper’s manufacturer because some transfer papers require the backing to be removed when it is still hot. Moreover, you can get a glossy or matte finish depending upon the temperature.

How to make a heat transfer machine by using a griddle?
Supplies: Griddle, ironing board, a piece of fabric, towel, some books, timer (You can use the timer app available on your phone). Heat transfer sheet with printed design
- Make sure your griddle has handles that are wide enough to straddle the width of your ironing board. If this is not the case, you may need a bigger griddle.
- Use a towel on the ironing board to provide padding. Padding will improve contact between the fabric and the griddle, ensuring better results.
- Put the fabric over the towel and put a sheet of cardboard below the fabric where the design is placed.
- Place your design exactly where you want it to go and apply heat.
- You can flip the griddle over and carefully lower it down on top of the transfer sheet.
- Make sure you place two or more heavy books on the griddle to apply even pressure. This will help set the design properly.
- Set the timer according to the time specified by the transfer paper manufacturer.
- Once you remove the books, you will be able to see the newly printed fabric.


I’ve been in the printing business for 25 years. I love to share my experiences and knowledge.